


Creating a Kanban Board with HTML, CSS & JavaScript
Modern UX designs and functionality can also be achieved with much simpler elements of HTML, CSS & JavaScript.


In this article, we are building a Kanban Board with plain HTML, CSS & JavaScript. This article aims to show, how modern UX designs and functionality can also be achieved with much simpler elements of HTML, CSS & JavaScript. This is where it all started right!
What is Kanban Board? Why use it?
 Kanban is a project management tool, used by many software development teams, working with agile processes.
It was designed to help visualize work, reduce work in progress tasks, and maximize the efficiency of teams.
Kanban uses visual cards, columns, and continuous improvement ideology to help teams achieve goals.
"Kanban" is the Japanese word for "visual signal." If you work in services or technology, your work is oftentimes invisible and intangible. A kanban board helps make your work visible so you can show it to others and keep everyone on the same page.
Let's Start
Kanban Board, which we are going to build, should eventually look like this
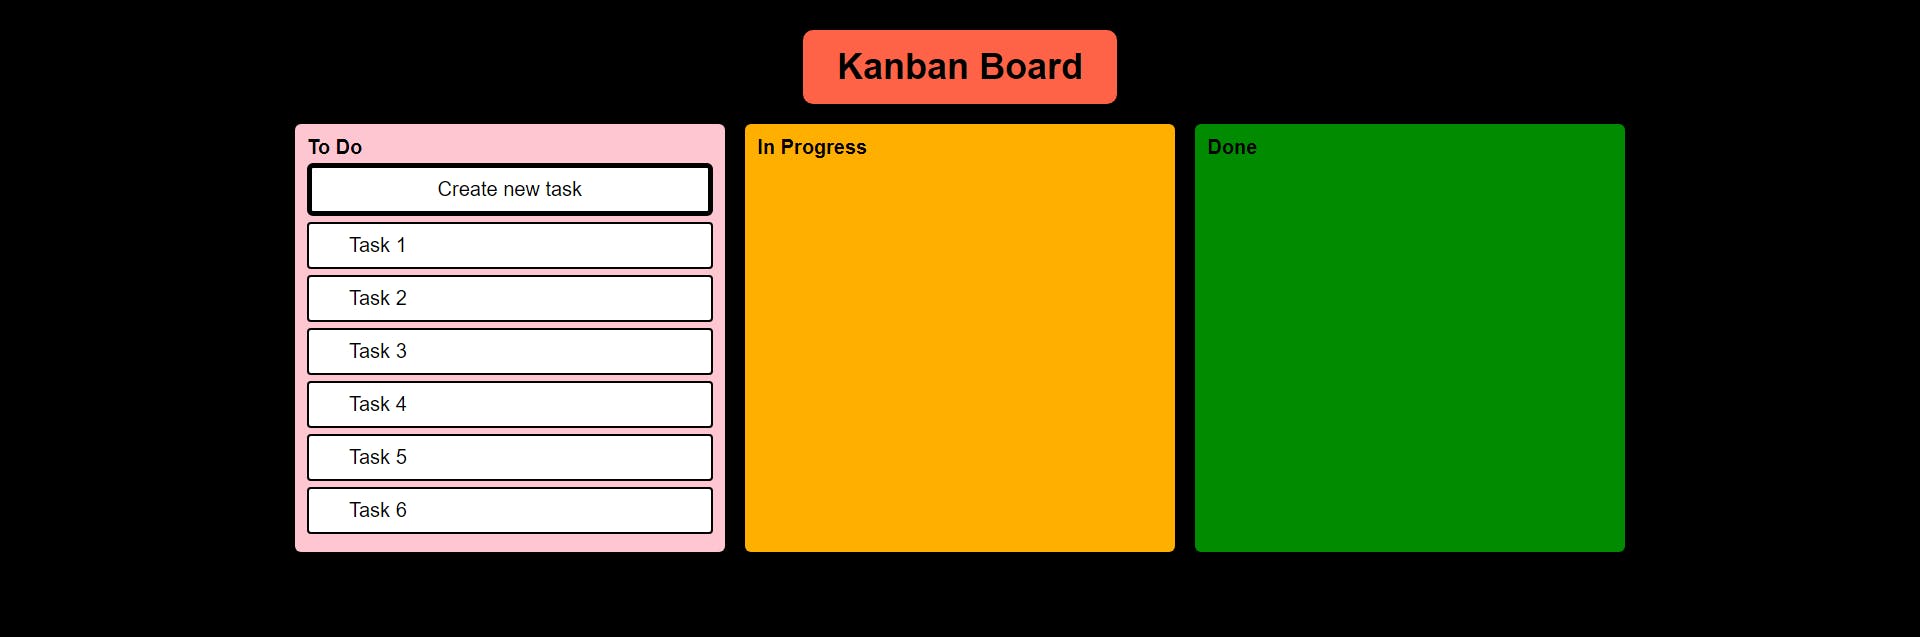
And we must be able to move tasks like this
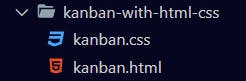
Initial Folder Structure
HTML
HTML (HyperText Markup Language) is the most basic building block of the Web. It defines the meaning and structure of web content.
Iteration 1
Initial HTML Boilerplate & Skeleton for kanban.html
<!DOCTYPE html>
<html lang="en">
<head>
    <title>Kanban Board</title>
</head>
<body>
    <div class="container">
        <div class="kanban-heading">
            <strong class="kanban-heading-text">Kanban Board</strong>
        </div>
        <div class="kanban-board">
            <div id="todo">To Do</div>
            <div id="inprogress">In Progress</div>
            <div id="done">Done</div>
        </div>
    </div>
</body>
</html>
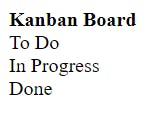
Output
Iteration 2
Adding properties to HTML for working better with CSS later. This means CSS can identify HTML better with these properties.
kanban.html
<body>
    <div class="container">
        <div class="kanban-heading">
            <strong class="kanban-heading-text">Kanban Board</strong>
        </div>
        <div class="kanban-board">
            <div class="kanban-block" id="todo">
                <strong>To Do</strong>
            </div>
            <div class="kanban-block" id="inprogress">
                <strong>In Progress</strong>
            </div>
            <div class="kanban-block" id="done">
                <strong>Done</strong>
            </div>
        </div>
    </div>
</body>
Output
CSS
Cascading Style Sheets is used to format & style, the layout of a page
Iteration 3
Link CSS to kanban.html
<head>
    <link rel="stylesheet" href="./kanban.css">
    <title>Kanban Board</title>
</head>
Iteration 4
Adding CSS to kanban.css
Container & Head
.container {
  width: 70%;
  min-width: 50%;
  margin: auto;
  display: flex;
  flex-direction: column;
}

.kanban-heading {
  display: flex;
  flex-direction: row;
  justify-content: center;
  font-family: sans-serif;
}

.kanban-heading-text {
  font-size: 1.8rem;
  background-color: tomato;
  padding: 0.8rem 1.7rem;
  border-radius: 0.5rem;
  margin: 1rem;
}
Output

Board sections
.kanban-board {
  display: flex;
  flex-direction: row;
  justify-content: space-between;
  font-family: sans-serif;
}

.kanban-block {
  padding: 0.6rem;
  width: 30.5%;
  min-width: 14rem;
  min-height: 4.5rem;
  border-radius: 0.3rem;
}

#todo {
  background-color: #fec6d1;
}

#inprogress {
  background-color: #ffaf00;
}

#done {
  background-color: #018b01;
}
Output

Body
body {
  background-color: black;
}
Output

As we see now, the output is much better after adding the magic of CSS to it.
Let's now complete the remaining part of adding sample tasks and it's styling to the Kanban Board
HTML
Iteration 5
Adding sample tasks to "To Do" section
kanban.html
<div class="kanban-block" id="todo">
    <strong>To Do</strong>
    <div class="task-button-block">
        <button id="task-button">Create new task</span>
    </div>
    <div class="task" id="task1">
        <span>Task 1</span>
    </div>
    <div class="task" id="task2">
        <span>Task 2</span>
    </div>
    <div class="task" id="task3">
        <span>Task 3</span>
    </div>
    <div class="task" id="task4">
        <span>Task 4</span>
    </div>
    <div class="task" id="task5">
        <span>Task 5</span>
    </div>
    <div class="task" id="task6">
        <span>Task 6</span>
    </div>
</div>
Iteration 6
Adding styles for sample tasks to kanban.css
.task {
  background-color: white;
  margin: 0.2rem 0rem 0.3rem 0rem;
  border: 0.1rem solid black;
  border-radius: 0.2rem;
  padding: 0.5rem 0.2rem 0.5rem 2rem;
}

#task-button {
  margin: 0.2rem 0rem 0.1rem 0rem;
  background-color: white;
  border-radius: 0.2rem;
  width: 100%;
  border: 0.25rem solid black;
  padding: 0.5rem 2.7rem;
  border-radius: 0.3rem;
  font-size: 1rem;
}
Output
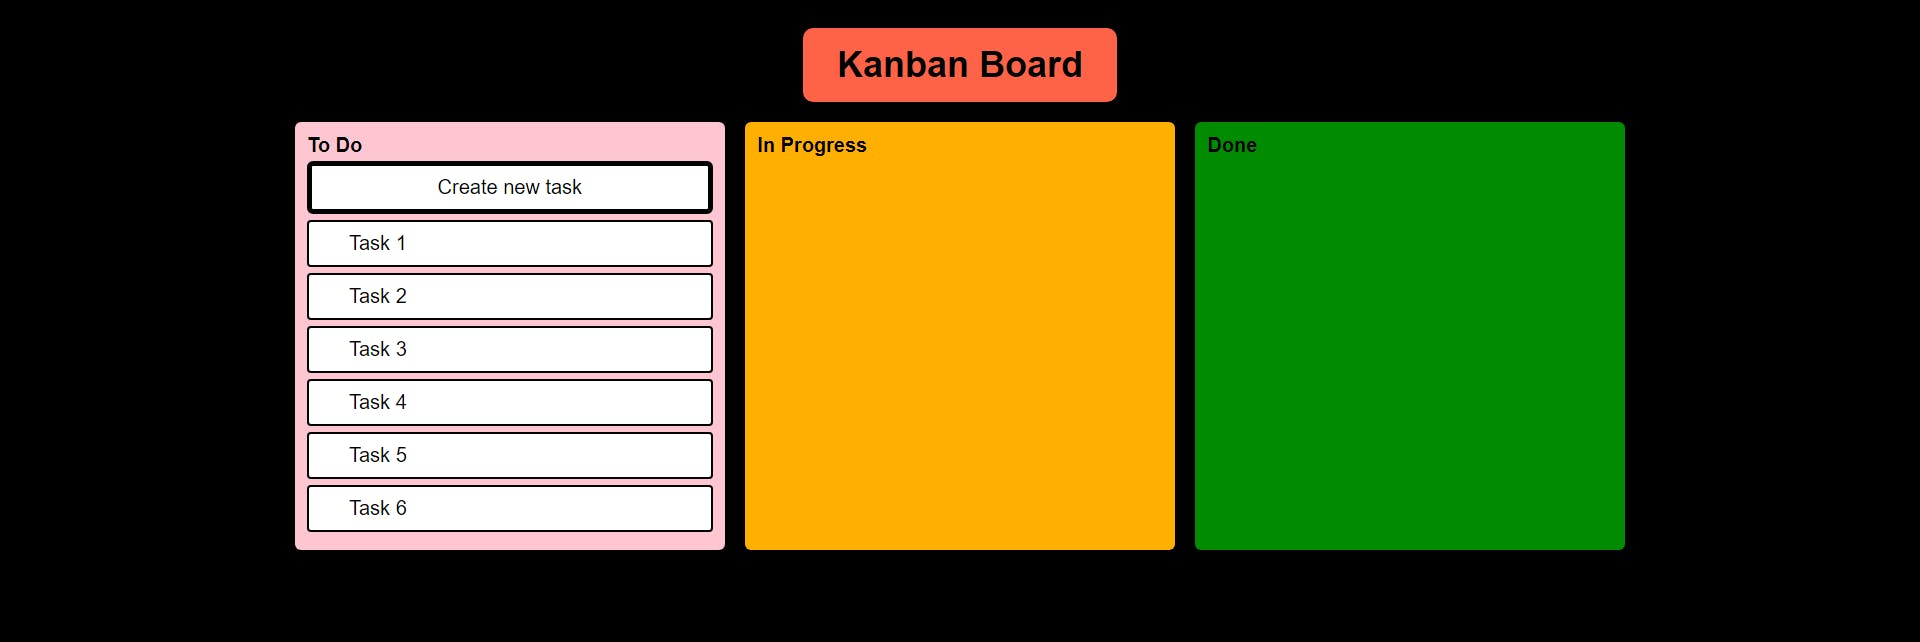
As we can see, with a structured HTML & CSS it only gets better
Javascript
JavaScript is a scripting or programming language that allows you to implement complex features on web pages
Time for some actions.
In our Kanban Board, I want to drag and drop my tasks from "To Do" to "In Progress" and "In Progress" to "Done" Status.
For this, I am going to use the HTML Drag & Drop API,
HTML Drag and Drop interfaces enable applications to use drag-and-drop features in browsers. The user may select draggable elements with a mouse, drag those elements to a droppable element, and drop them by releasing the mouse button.
Let me show you all code & deduce it step by step.
<!DOCTYPE html>
<html lang="en">
<head>
    <link rel="stylesheet" href="./kanban.css">
    <title>Kanban Board</title>
    <script>
        function drag(ev) {
            ev.dataTransfer.setData("text", ev.target.id);
        }

        function allowDrop(ev) {
            ev.preventDefault();
        }

        function drop(ev) {
            ev.preventDefault();
            var data = ev.dataTransfer.getData("text");
            ev.target.appendChild(document.getElementById(data));
        }
    </script>
</head>
<body>
    <div class="container">
        <div class="kanban-heading">
            <strong class="kanban-heading-text">Kanban Board</strong>
        </div>
        <div class="kanban-board">
            <div class="kanban-block" id="todo" ondrop="drop(event)" ondragover="allowDrop(event)">
                <strong>To Do</strong>
                <div class="task-button-block">
                    <button id="task-button">Create new task</span>
                </div>
                <div class="task" id="task1" draggable="true" ondragstart="drag(event)">
                    <span>Task 1</span>
                </div>
                <div class="task" id="task2" draggable="true" ondragstart="drag(event)">
                    <span>Task 2</span>
                </div>
                <div class="task" id="task3" draggable="true" ondragstart="drag(event)">
                    <span>Task 3</span>
                </div>
                <div class="task" id="task4" draggable="true" ondragstart="drag(event)">
                    <span>Task 4</span>
                </div>
                <div class="task" id="task5" draggable="true" ondragstart="drag(event)">
                    <span>Task 5</span>
                </div>
                <div class="task" id="task6" draggable="true" ondragstart="drag(event)">
                    <span>Task 6</span>
                </div>
            </div>
            <div class="kanban-block" id="inprogress" ondrop="drop(event)" ondragover="allowDrop(event)">
                <strong>In Progress</strong>
            </div>
            <div class="kanban-block" id="done" ondrop="drop(event)" ondragover="allowDrop(event)">
                <strong>Done</strong>
            </div>
        </div>
    </div>
</body>
</html>
- Using
draggable="true"property, we are identifying, what is a draggable element - Using
ondragstart="drag(event)", we are mentioning what method to use when the element is dragged. - With the following function call, we are defining what data needs to be dragged, in our case, it's the HTML element.
function drag(ev) { ev.dataTransfer.setData("text", ev.target.id); } ondrop="drop(event)"specifies when data is dropped, a drop event occurs and we call thedropmethod- This function sets data to the target element
function drop(ev) {
     ev.preventDefault();
     var data = ev.dataTransfer.getData("text");
     ev.target.appendChild(document.getElementById(data));
}
Additional Features added
- Creating a new Task
Features Todo
- Adding State to store information
- Editing existing task information
- Create tasks to other states(In Progress, Done)
- Many more...
Track further changes of code here - Kanban Board
Well, is this solution perfect?
No, it isn't
I am getting some side effects like this Haha!
But definitely, worth learning as a starter.
Let me know, how this issue can be resolved.
Thanks for reading through this starter. This completes my first article.